Showing posts with label fall. Show all posts

Monday, January 27, 2014

Baby Food Turkey

Since I had a LOT of baby food jars coming in and out of my house, I was looking for a craft to keep the girls occupied over Thanksgiving and for a cute centerpiece for our table.  We ended up making a handprint turkey and I think it turned out really cute!

Things You'll Need:
 - Construction paper, pencil, & scissors
 - Baby Food Jar (washed and label removed)
 - Brown paint & a paint brush
 - Google-y eyes
 - Hands to trace

First we put the first coat of brown paint on the baby food jar.  No need to paint the 'top' of the jar since you'll never see it.  We did this and then let it dry while we made the hand prints.  I'd suggest a second coat so it has good coverage.

While waiting for it to dry, we traced my daughters hand on yellow, red, and orange construction paper.  Cut them out and then you can either tape, glue, or hot glue them together to create a fan look for tail feathers.  I found it worked well to flip the hands on either side so that the thumbs were at the bottom and you just sort of move the layers around so you can see all of the colors.  One thing to note is to make sure that the bottom goes straight across (don't angle so much that the thumbs are pointing down) or you will have problems with them bending or getting squashed when you put them on the jar. 

Once the jar is dried, you can glue the hand 'feathers' to the back of the jar and let it dry.  Next you can add the two google-y eyes and we just cut a small yellow triangle from the yellow construction paper for a nose.

What was extra fun about this craft was that my oldest decided she would make one of her own when she saw what we did; except she flipped it a little.  She used cool colors (blue, purple, green) and painted the jar blue with a layer of glitter paint(!!!).  Then she added a red and white pom-pom hat to it and called it a Christmas Peacock! :)

Monday, December 9, 2013

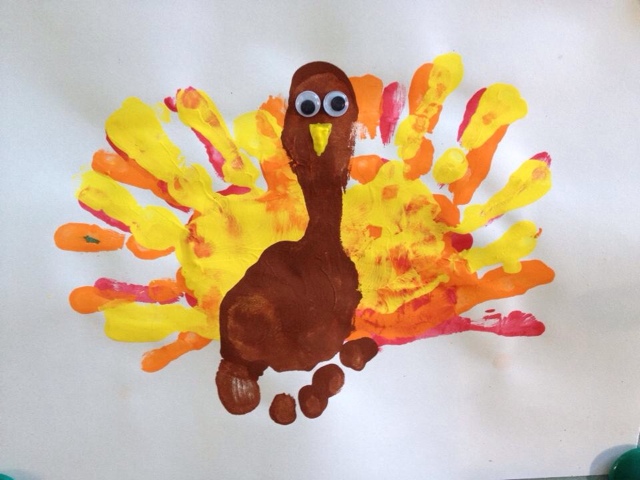
Hand & Foot Turkey

I had some time with my 4 year old, so we decided to make some Thanksgiving crafts to have on display when we hosted dinner.  This takes a bit depending on how long you wait to let the layers of paint dry, but turned out really cute!


Things you'll need:
 - red, orange, yellow,
   and brown paint
 - paintbrush
 - googley eyes
 - hands and feet!!


I thought it would be easiest to have the darkest color on the bottom so that it would show through the others as you put more prints on top, but you're welcome to switch it up however you would like to.  I do recommend waiting until the print is almost dry (or fully dry) before putting another print on top.  You'll see the progression photos around this post.  We tried to alternate the hands around a bit so they were not perfectly aligned.  I may actually recommend flipping the hands to the opposite side to completely get a different pattern.

After we let that dry, I coated her foot in brown paint and tried to make it so that the toes (feet) were below the hand feathers.  We added two google-y eyes after it dried and also a yellow beak.  You can add a beak cutting out a triangle from construction paper or I used the back of a paint brush to make a triangle with yellow paint.


Monday, September 9, 2013

Q-tip Tree

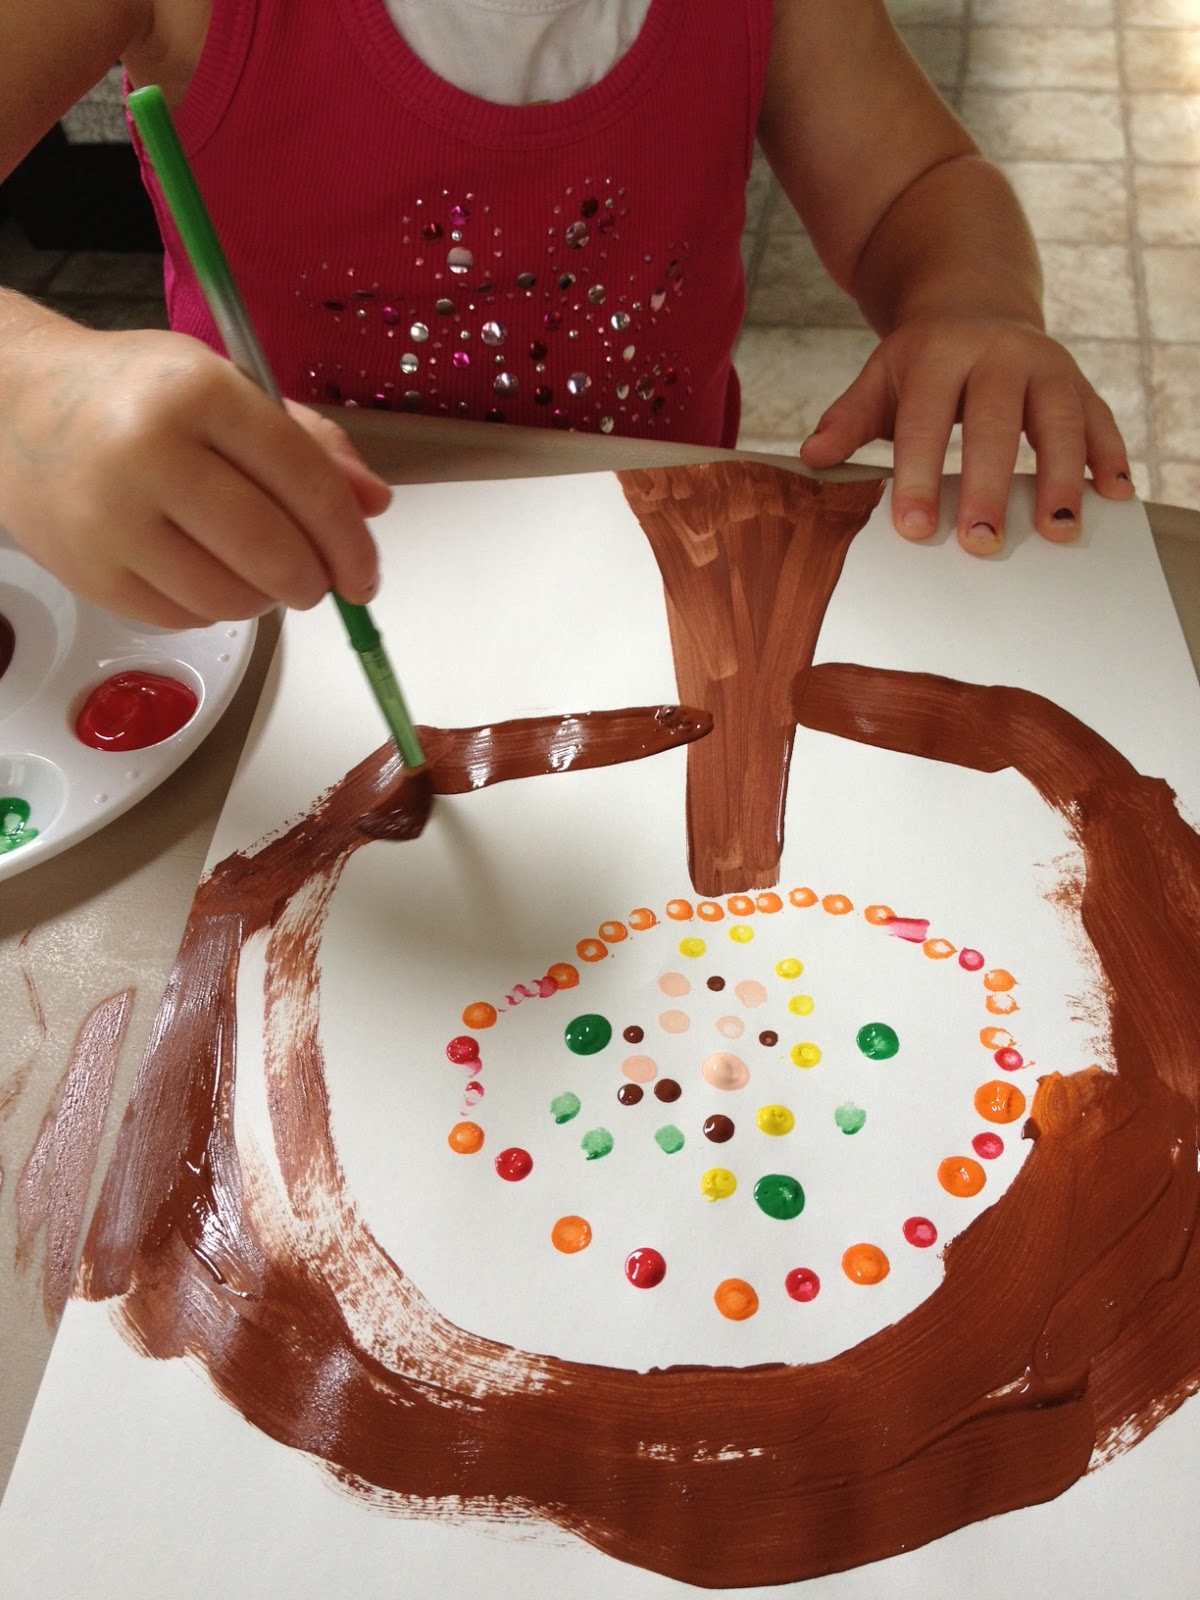
Here's an interesting twist on what 'tools' you can use to paint with.  I found this dot tree on Pinterest and had it saved for a future craft day.  It seemed perfect for the cooler, feeling like fall morning we had the other day.

Things you'll need:
 - q-tips
 - washable paint
 - paper
 - paint brush

Pretty simple craft this time.  All I did was paint the tree trunk and then put print-out of the image from Pinterest on the table to show Alexandria how they used the q-tips to make the leaves on the tree.  As always she had her own twist on the craft and decided that after she had made the dots that the tree needed to be enclosed with brown!  As much as my OCD makes me cringe, I love her putting her own spin on each craft we do!  Below is the original idea and then some of Alexandria's work & finished product.


Tuesday, December 6, 2011

Crafting with Leaves

In an attempt to integrate the multitude of fallen leaves into our crafting, I picked up a few on my way home with the girls to use in a craft.

Things you'll need:
 - Leaves (recently fallen so they won't crumble)
 - Different paint colors
 - Paintbrush(es)
 - Paper
 - Crayons
 
The first thing we tried was your typical leaf rub by placing a leaf under a piece of paper and then rubbing the side of a crayon on the paper over top of where the leaf is under the paper.  This picks up the veins and stem of the leaf showing up darker with color.  Emma had much more success with this than Alex who quickly stopped paying attention, so we moved on!

My next idea was to use the leaves as stamps.  The girls painted one side of a leaf of their choice and then pressed the painted side down onto the paper pushing with their hands on the leaf and then picking it up by the stem.  This again was much easier for Emma and she got really creative with it and made a flower out of the leaf prints which is the first picture you see in this post and below is a picture of the work in progress.
Alexandria is much more of a 'paint my hand and stamp' kind of painter with all of the hand crafts we've done, so she proceeded to move on to that while I tried to get Emma to use the leaves as paint brushes by dipping the edges into paint and then using them as a brush on the paper (below is a picture of Emma leaf painting).  Long story short, a bunch of different ideas and the best one that came out was the stamps.  All in all it was a great time with some natural items incorporated; a great way to keep using the leaves in different ways to keep your children's interest.
 ...wonder if the tongue sticking out helps? :)

Friday, October 28, 2011

Ghost Prints

Alexandria did this craft last year around Halloween at daycare, so I thought I'd recreate it since I thought it was really cute; plus this way I could see how much her foot has grown in a year!  We invited over our neighbor's son to make some ghosts too and they both had a really fun time.  This is an incredibly simple craft that takes next to no time at all.

Things you'll need:
 - Black paper (or orange also works)
 - White paint
 - Tiny google-y eyes
 - Paintbrush
 - Feet with Piggies!

As I said, it's pretty simple.  Paint your child's foot with the white paint; I think thicker you apply the paint, the better the result for this craft.  Stamp their foot on the paper wherever you'd like.  I end up cutting out around the feet so that it's smaller to display, but you could make a row of ghosts using both feet if you want to line the paper with them.  I had Alex do about 4 foot prints so that I could cut out a few of them separately to give as little Halloween mementos.  After the paint dries, add the google-y eyes to the ghost.  You can also add a comment bubble to the craft if you'd like to have it say, "BOO!" or add a little smiley face...and that's that!

I hope everyone has a safe and fun Halloween!!!

Saturday, November 20, 2010

Fall Bumpkins

Recently my girls and I went to a pottery painting store to make some Christmas/Birthday presents for Daddy.  While browsing the store's website to get some ideas before going (since I'm not so crafty!), I came across a plate with a pumpkin on it...a 'bum'pkin!!!  Now I thought this was beyond adorable and something I had to do (just not in public in the middle of a store)...and so it became our at home project.

Things you'll need:
- orange and green washable paint
- paint brush
- paper plate (unless your child will stay put long enough to paint their bum!)
- whatever you'd like to put the bum on - we used white construction paper
- a paint proof location and a tiny bum :)

First I poured some paint onto the paper plate and spread it around.  Unfortunately you can't tell in the picture how quickly I had to do this while Alexandria started unrolling the toilet paper!

Then I put the paper plate with paint on the floor next to 3 pieces of paper.  I'm not sure there's an 'art form' to getting this accomplished, but I sat her bum on the paper plate and smushed her down a bit.  After that I picked her up and plopped her back on the floor on top of a piece of paper.  You'll see in the pictures that the bottom of the bumpkin (near her legs) isn't quite as round it probably should have been.  My only resolution to this would be to hold your child between your arms with their legs up and get only bums to stamp on the paper.


Next we cleaned up because I'm not sure anyone wants their child running around with a wet paint orange bum while you're trying to draw on the stem!  The stem was simple; just a quick brush stroke and you're done.  BUMpkins!!!